
Why would I use node.js to upload an Android app?
Perhaps you’re developing a Cordova (hybrid mobile) app :)
The only library I found available to upload to the Play Store is google-api-nodejs-client (written by Google).
Since I couldn’t find much documentation, I had to comb a bit through the source code of the library to figure out what was going on. This post will go over some of the initial set-up of the library (there are a few holes, which are left to be figured out).
This tutorial starts at the point after you’ve already set up your app in the Google Play store (but have not yet uploaded a new APK).
Important: according to Play Store docs, you must first MANUALLY upload your APK the first time (by going into your developer console and clicking the “Upload” button). Any time after that, however, you can use a library such as the one in this tutorial.
Also, I’m assuming you’ve already found out a way to build your APK. If you’re using Ionic/Cordiva, follow their official tutorial to figure out how to generate an APK.
Useful documents before we start
- My full example code used in this tutorial (on Github. Save it as something like
upload.js, and remember tochmod a+x upload.jsto be able to run it on the command line.) This may be incomplete or not fully functional in some places (it was originally tailored for one of our organization’s apps), but the basic “skeleton” is there. You can also download the ZIP (this is linked from Github). googleapisREADME on Githubgoogleapisnpm pageandroidpublisherv2 source code, which is what I used as my documentation (it’s pleasantly well-commented)- Google documentation on developers.google.com for generic usage of the
android-publishermodule
Download the library
npm install --save-dev googleapisThis is the abovementioned library, which, according to Github is:
Google’s officially supported node.js client library for using Google APIs
Supposedly it supports all of Google’s APIs, including the androidpublisher (which is what we’ll be using).
Uploading isn’t quite what it seems
With this API, we don’t simply upload an APK.
Instead, we:
- Open an “edit” (
play.edits.insert) - Upload the APK in sort of a limbo state (
play.edits.apks.upload) - Do whatever else in this step (say, set a track, etc.)
- “Commit” the edit (
play.edits.commit)
Basically what we’re doing is opening some sort of “container” in cyberspace where we have a white room to upload our app, set whatever properties, etc., and then finally we either discard or commit all those edits.
Primer on “tracks”
Read the official Google docs about tracks.
“Tracks” are just channels (alpha, beta, and production). In the Play Store, you can put your app in any of these tracks. Why have alpha and beta? Well, in each one of those tracks, you can designate specific testers.
For example, your alpha track can be closed testing for your developers only, and your beta track can be for, say, QA engineers, or a small subset of other people.
These “limited” tracks (alpha and beta) are also fantastic if your app is some sort of “admin” app that will only ever be available to specific users in your organization. But be careful: the moment you send your app to production, it is there to stay (and it’s live to everyone in the Play Store) (see Unable to deactivate APK accidentally uploaded to Prod on StackOverflow).
Just as an aside, if you want each APK in each track to hit a different server (for example, if you want your beta to hit “staging.example.com/api/1.0” and your production track to hit “production.example.com/api/1.0”), you’re out of luck (as far as I know). The APK you upload and promote through the various tracks can’t be reconfigured each time you move it to a different track (by the way, to move your beta to production, you can just hit the “Promote to…” button and click the new channel. I haven’t yet tried to use the API to do this, as opening a new zshell window is as easy as just logging into the Play Store console in Chrome and pressing the button. Some hardcore shell users may disagree with me.)
Initial set up
There’s a lot going on here. Here are the initial module declarations.
// our handy library
var google = require('googleapis');

// this is optional, but helpful
var Promise = require('bluebird');

// just a utility library (handy, if you haven't used it before)
var _ = require('lodash');

// command line parsing
var argv = require('yargs').argv;

// see below in "Finding your secret.json" to find out how to get this
var key = require('../../../secret.json');

// I'm using my package.json as my source of truth for my versioning
var version = require('../../../package.json').version;

// any unique id will do; a timestamp is easiest
var editId = ''+(new Date().getTime());

// editing "scope" allowed for OAuth2
var scopes = [
  'https://www.googleapis.com/auth/androidpublisher'
];

// here, we'll initialize our client
var OAuth2 = google.auth.OAuth2;
var oauth2Client = new OAuth2();
var jwtClient = new google.auth.JWT(key.client_email, null, key.private_key, scopes, null);
var play = google.androidpublisher({
  version: 'v2',
  auth: oauth2Client,
  params: {
    // default options
    // this is the package name for your initial app you've already set up on the Play Store
    packageName: 'com.example.app'
  }
});

google.options({ auth: oauth2Client });
Finding your secret.json
You can make one! Go to https://console.developers.google.com.
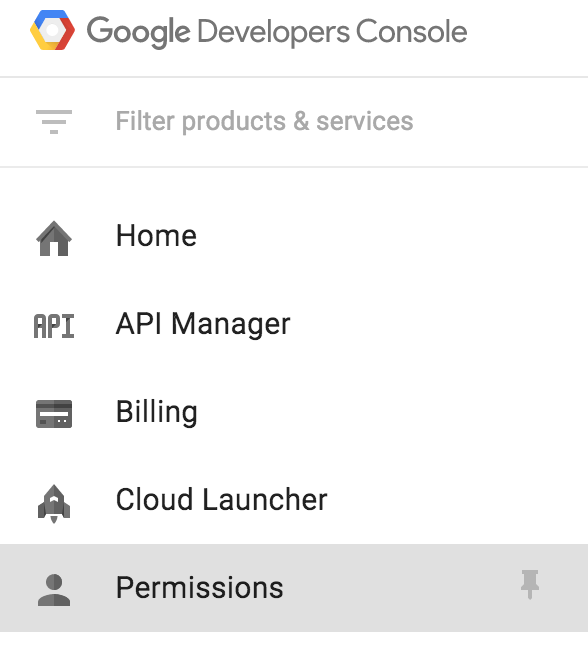
Click on "permissions" in the side menu
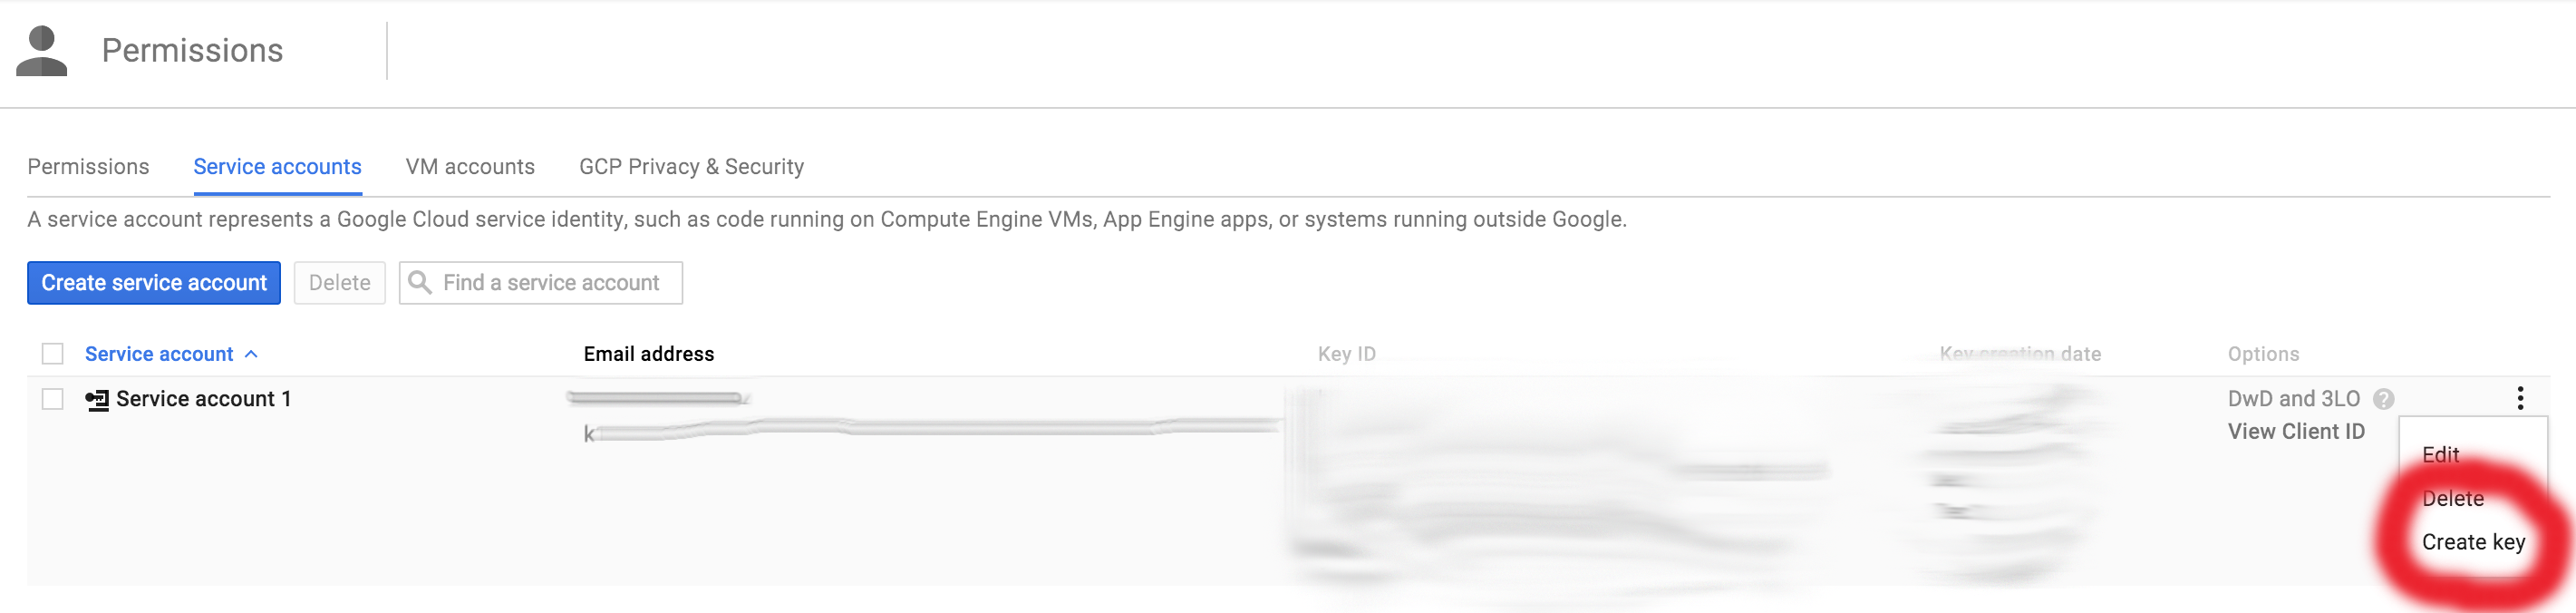
You can generate your key here. Don't worry, as of the date of writing this post, you can generate as many keys as you'd like without the fear of revoking other active keys! :)
secret.json should look something like this:
{
  "private_key_id": "y34hr1ght",
  "private_key": "-----BEGIN PRIVATE KEY-----\nyouthoughtiwasgoingtopostmyprivatekey\n-----END PRIVATE KEY-----\n",
  "client_email": "someweirdlookingstring-123@developer.gserviceaccount.com",
  "client_id": "someweirdlookingstring-123.apps.googleusercontent.com",
  "type": "service_account"
}
I found the initial options and how to initialize androidpublisher through a bit of trial and error. You can use the general googleapis README (which is not specific to androidpublisher) if you want to see example of connecting to other APIs, using OAuth2, etc. Again, you won’t find much useful information for this specific case.
Let’s actually do some stuff
// "open" our edit
startEdit()
.then(function(data) {
  var apk = require('fs').readFileSync('./Chronicled.apk');

  // stage the upload (doesn't actually upload anything)
  return upload({
    edit: data.edit,
    apk: apk
  });

}).then(function(data) {

  // set our track
  return setTrack(data);

}).then(function(data) {

  // commit our changes
  return commitToPlayStore(data);

}).then(function(data) {

  // log our success!
  console.log('Successful upload:', data);

})
.catch(function(err) {
  console.log(err);
  process.exit(0);
});

/**
 *  Sets our authorization token and begins an edit transaction.
 */
function startEdit() {
  return new Promise(function(resolve, reject) {
    // get the tokens
    jwtClient.authorize(function(err, tokens) {
      if(err) {
        console.log(err);
        return;
      }

      // set the credentials from the tokens
      oauth2Client.setCredentials(tokens);

      play.edits.insert({
        resource: {
          id: editId,
          // this edit will be valid for 10 minutes
          expiryTimeSeconds: 600
        }
      }, function(err, edit) {
        if(err || !edit) {
          reject(err);
        }

        resolve({
          edit: edit
        });
      });
    });
  });
}

/**
 *  Stages an upload of the APK (but doesn't actually upload anything)
 */
function upload(data) {
  var edit = data.edit;
  var apk = data.apk;

  return new Promise(function(resolve, reject) {
    play.edits.apks.upload({
      editId: edit.id,
      media: {

        mimeType: 'application/vnd.android.package-archive',
        body: apk
      }
    }, function(err, res) {
      if(err || !res) {
        reject(err);
      }

      // pass any data we care about to the next function call
      resolve(_.omit(_.extend(data, { uploadResults: res }), 'apk'));
    });
  });
}

/**
 *  Sets our track (beta, production, etc.)
 */
function setTrack(data) {
  var edit = data.edit;
  var track = tracks[argv[0] || 'alpha'];

  return new Promise(function(resolve, reject) {
    play.edits.tracks.update({
      editId: edit.id,
      track: track,
      resource: {
        track: track,
        versionCodes: [+data.uploadResults.versionCode]
      }
    }, function(err, res) {
      if(err || !res) {
        reject(err);
      }

      resolve(_.extend(data, { setTrackResults: res }));
    });
  });

}

/**
 *  Commits our edit transaction and makes our changes live.
 */
function commitToPlayStore(data) {
  return new Promise(function(resolve, reject) {
    play.edits.commit({
      editId: data.edit.id
    }, function(err, res) {
      if(err || !res) {
        reject(err);
      }

      resolve(_.extend(data, { commitToPlayStoreResults: res }));
    });
  });
}
In the code above, all we’re doing is calling these steps in order:
- Open our edit (
startEdit) - Stage our APK for upload (
upload) - Set our track (
setTrack) - Committing our changes (
commitToPlayStore)
Throughout all these steps, all we’re doing is manipulating our data after each function call and piping it into the next function (nothing special about that part).
If all went well, you should see something like this printed in your consol:
Successful upload: { edit: { id: '1234567', expiryTimeSeconds: '1441766670' },
  uploadResults:
   { versionCode: 50,
     binary: { sha1: 'dddddd444444aaaaa55555' } },
  setTrackResults: { track: 'beta', versionCodes: [ 50 ] },
  commitToPlayStoreResults: { id: '1234567', expiryTimeSeconds: '1441766670' } }
Forgetting to bump your version
If you see this:
{ [Error: APK specifies a version code that has already been used.]
  code: 403,
  errors:
   [ { domain: 'androidpublisher',
       reason: 'apkUpgradeVersionConflict',
       message: 'APK specifies a version code that has already been used.' } ] }
[TypeError: Cannot read property 'edit' of undefined]
This means you need to bump your package.json version.
Final thoughts
The node.js client used in this tutorial is still very much in its early stages, as noted by Google in their official README:
This library is in Alpha. We will make an effort to support the library, but we reserve the right to make incompatible changes when necessary.
Another gaping hole missing in this tutorial is promotion through tracks. If anyone knows more about that, please comment below! Thanks for reading, and I hope you’ve found some useful information in this post!